How to Use Adobe Premiere Pro
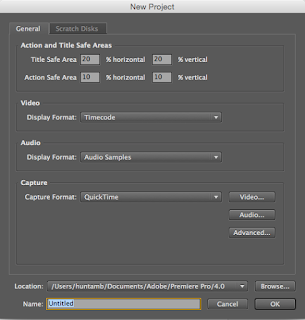 |
| 2) After clicking that, name the project |
 | |
|
3) You will then be directed to this page where you will need to choose a preset. For my film I chose the 'AVCHD 1080p24' preset. To find this I clicked on 'AVCHD' then '1080p' and finally my previously stated pre-set. This allows my film to be in high definition quality and it will be at 24fps making it visually clearer and smoother when watching.
This is the layout of the program when you will be editing. on this page there is the timeline sequence (bottom) where you edit all of your footage and audio together. To the left of that is where you find all of your files. Above this is where you place your desired files so they are easy to use and all in one place together. To the right of that is where you cut and view each file and next to that is where you can preview your work.
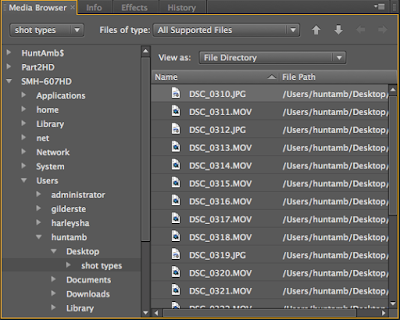 4) in the bottom left hand corner of the program there is the media browser, where you find your files, click on the folder which your files are kept and simply select the files needed.
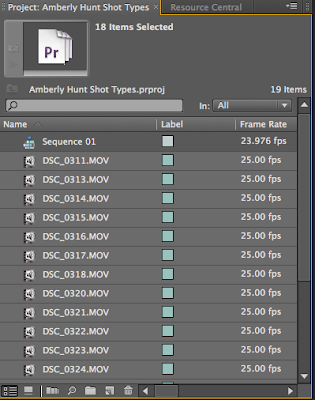 5) Once all of these files have been selected, drag them to the section above- this is helpful as they will all be in one place
6) Drag each file individually, into this section where they can be edited and cut.
This bar has all of the tools needed to cut the clip. The brackets on the left are what you click to choose the beginning and end of the clip.
7) Drag that portion of the clip into the timeline and place it where you want it to go. continue this process with all of your clips and place them together to make a fluid video.
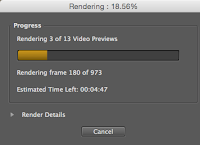
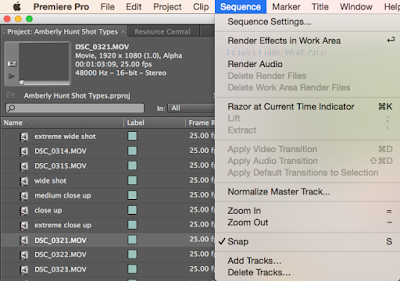 8) While placing your clips together you will notice a red line above along the timeline. This is the section of the clip that has not been rendered. Without it being rendered, it will not play smoothly. To render the clips go to sequence and select 'Render Effects in Work Area'
9) To add a title or to place text over a section of the video, at the top, click 'Title', 'New Title' and then 'Default Still'. To do it as credits you should click 'Default Crawl'.This window will now open:
Here you can add text, edit it and colour it over a particular still of your video. Shapes can also be added in addition to text and you can place it evenly in the frame or as you wish.
10) Drag the title into the timeline, just as done with the clips and place it over your clip.- this section will need to be re-rendered.
11) To place an effect or transition, go to the media browser and near it is the effects section, click on this and look through the 'Video Effects'/ 'Video Transitions'. Once chosen, drag it over the clip or in-between two clips.
Your timeline will start to look like this once you have begun adding a variety of effects, transitions and titles to your video:

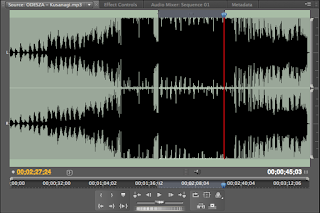
12) to add music, find the audio file and export it into an mp3 file. you can then cut and edit it just like you have previously done when cutting and editing the video clips.
then, drag the audio file onto the timeline, below the video and audio for your clips. (This will all need to be rendered).
13) to change the volume of the audio files, drag the yellow line up or down, depending on whether you want the audio to be louder or quieter.
14) Once your entire rendered film has been edited with audio, titles, credits and any other transitions, text or effects, it will need to be exported. Click 'File', 'Export', 'Media...'
15) Then this screen will appear and you will need to check that everything is how you want it and that the video will be rendered to the highest quality. Once checked, click 'OK'. The file will then export and be saved onto your desktop.
16) Then you will encode your file. Once this is done it will be ready to upload onto sites such as Youtube or Vimeo.


Comments
Post a Comment